11: Flyer

i had make my own flyer and the title was noche de ciencias. i used the same thing we had to do in assignment 8 which was the background has to be shown through the words. so i put in the important information and i made sure that the pictures in the background were showing through the title and i used a logo for the school and for city collage. and i just kind of had to make it my own style and thats what i came up with.
*************************************************************************
12: Texture via Layers

We had to do the same thing we did for #10 we took a suit and we took a pattern and we had to take the pattern and put it on the suit. first we had to use the magnetic lasso tool to go around the location of the part we want covered with the pattern. then we had to take the pattern and adjust it on the suit and make sure that it is what we want. then we had to take the suit and the pattern and put it on the side.
*************************************************************************
13: change one thing poster

*********************************************************************************
14: Jack O'Lantern
.jpg)
*********************************************************************************
15.A creating a painted effect using displacement 

For this one we had to like paint a flag on bricks through Photoshop. we followed the steps to the website that i will have a link of at the end. we had to put the flag layer over the brick layer. then we had to create a copy of the brick layer. then we had to make the flag layer hard light instead of normal. after that we had to save it. then we had to go to the flag layer and go to filter-distort-displace. and we had to make sure that they are all on 6 then open the saved one onto this one and th ere you go.
*********************************************************************************
15.B painted selfie

*********************************************************************************
16: Motion Blurred Via Smart Filter
.jpg)
for this we had to make believe or actually make something look like it was moving through Photoshop. first we had to open it as a smart filter. then we had to set it to 5 to make it blurry enough. then we had to take the eraser and go over the train with it to make the train not blurry and after we did that we were done. the link is http://www.tutorialboard.net/understanding-and-using-smart-filters-in-photoshop-for-dynamic-adjustments/
*********************************************************************************
17: Masking an area for changing eye color

i was sad that i couldn't use my cat but when i saw this cat i was happy because it look just like him eyes ears nose and color. we had to first highlight the eyes then we had to use the inverse to delete the layer around the whole thing and we then open filter-fill and then we chose the color we want for the eyes and make sure the opacity low enough that you can see the color and the eyeballs. the link is http://www.tutorialboard.net/using-a-quick-mask-to-make-a-detailed-selection/
*********************************************************************************
18: Soft filter for a better skin tone

we had to get a picture of an old lady and we had to make it bright. first we had to open it normally and convert it to smart object. then we had to set it at 5 and we had to put it as a screen layer not a normal. when it lights up we had to take the brush and select the thumbnail thing to delete the light on the important parts light eyes hair and background. the link is http://www.tutorialboard.net/add-a-soft-focus-effect-to-make-a-portrait-glow/
********************************************************************************
19: flash drive
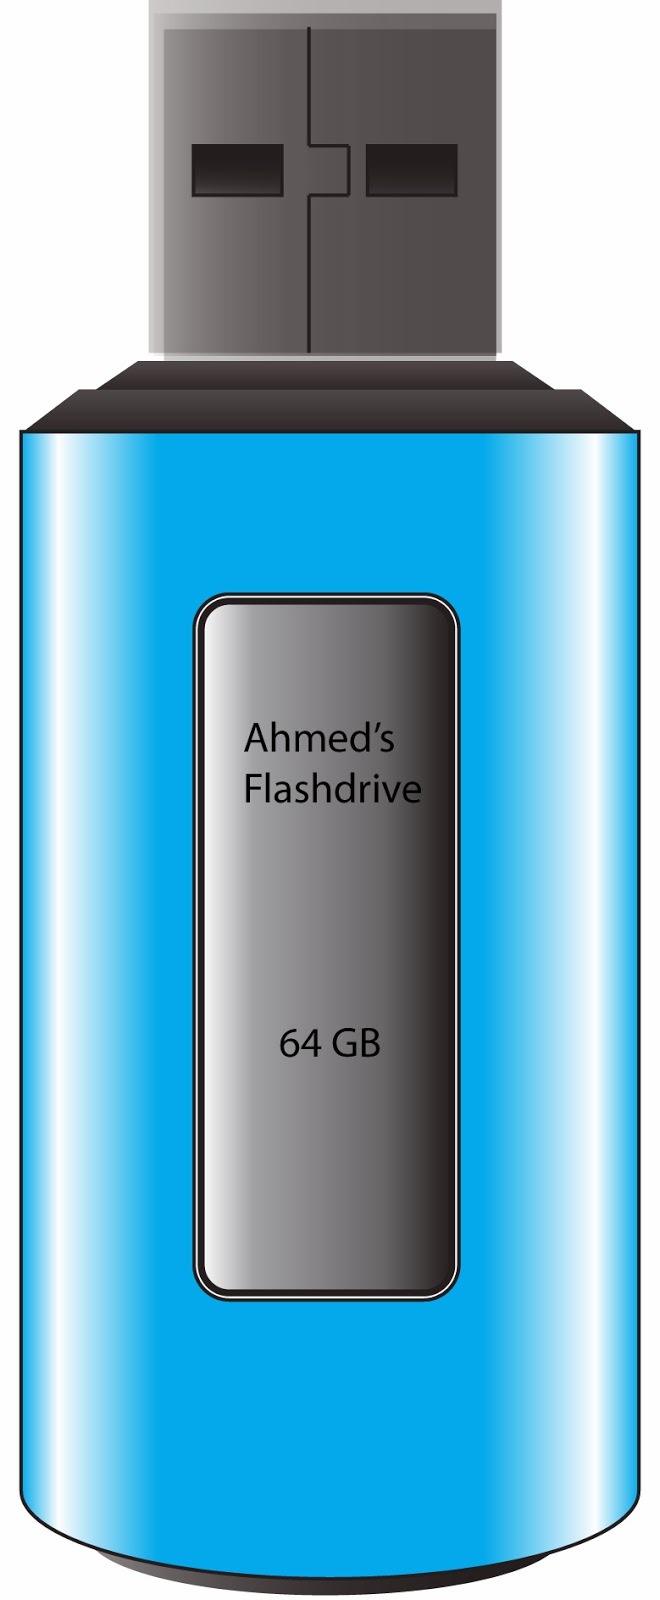
so the first thing we had to do was open illustrator then i had to make a rectangle which is the blue side of the flash drive. then i had to change the gradient to what they had and i chose the color blue you can chose any other color. then i had to make the two black layers onto of the blue flash drive. and then i had to make there different squares in sizes. then i had to put them on top of each other and i had to make the inner flash drive curve and write my name and i chose the size of it 64 gb. the link is http://www.tutorialboard.net/create-realistic-pendriveas-adobe-illustrator/
*********************************************************************************
20:test phone
..
-

we had to do a lot of stuff. first we had to make a rectangle with a specific size and do many paths and change each ones linear gradient. then we had to make a rectangle with a specific size and crate two paths with each their own gradient. then make a smaller rectangle in the middle of the box which is orange. then we had to make the circular thing under the orange rectangle then we made many paths then we coped it over.
after that we had to write our names and the schools name. then we had to make a rectangular for the controls of the phone then make another one on it and group them then cut off the things we don't have. then we had to make the circle in the middle and then we had to use the font we were instructed to use to make the symbols. then we had to make the keys thing by make a circle with a specific size then we had to make many paths on it and then we had to add the numbers and letters. then we had to make a circle with a size on the top and make another smaller one on it then make 3 smaller circles. that was it the link ishttp://vector.tutsplus.com/tutorials/illustration/how-to-create-a-stylish-wireless-phone/
*****************************************************************


